This tutorial is to guide you through the installation, configuration, and usage of Snort for both the Intrusion Detection System (IDS) and Intrusion Prevention System (IPS) on Kali Linux. We will demonstrate this through a practical, real cybersecurity scenario involving the detection and prevention of a simulated attack. By the end of this tutorial, you will have a basic understanding of how to deploy Snort to enhance your network security posture against sophisticated and complex cyber threats.
Prerequisites
- Kali Linux installed and updated.
- Root privileges or
sudoaccess. - Basic understanding of networking concepts.
Steps to use Snort
Step 1: Install Snort
-
Update Your System:
sudo apt update sudo apt upgrade -
Install Snort:
sudo apt install snort -
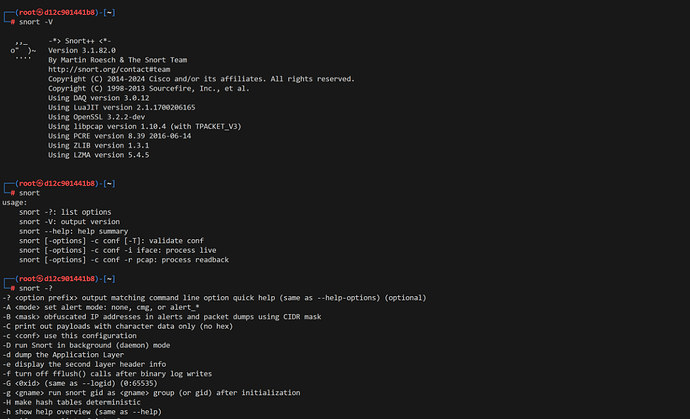
Verify Installation:
snort -V
Step 2: Configure Snort
-
Locate Configuration File:
sudo nano /etc/snort/snort.conf -
Set Network Variables:
Modify thesnort.conffile to specify your network range.var HOME_NET 192.168.1.0/24 var EXTERNAL_NET !$HOME_NET -
Include Rule Sets:
Ensure thesnort.conffile includes paths to Snort rules:include $RULE_PATH/local.rules include $RULE_PATH/community.rules
Step 3: Test Snort Configuration
-
Test Configuration:
sudo snort -T -c /etc/snort/snort.conf -
Create a Custom Rule:
Edit thelocal.rulesfile:sudo nano /etc/snort/rules/local.rulesAdd a simple rule to detect ICMP (ping) requests:
alert icmp any any -> $HOME_NET any (msg:"ICMP Test"; sid:1000001; rev:1;)
Step 4: Running Snort in IDS Mode
-
Run Snort:
sudo snort -A console -i eth0 -c /etc/snort/snort.confReplace
eth0with your network interface. -
Test the Rule:
From another machine, send a ping request to a machine in your HOME_NET:ping 192.168.1.10Observe Snort’s output in the console to see the alert.
Step 5: Running Snort in IPS Mode
-
Install Necessary Tools:
sudo apt install iptables -
Configure iptables:
Redirect traffic to Snort using iptables:sudo iptables -A INPUT -j QUEUE sudo iptables -A FORWARD -j QUEUE -
Run Snort in Inline Mode:
sudo snort -Q --daq afpacket -c /etc/snort/snort.conf -i eth0:eth1
Real-World Example - Detecting and Preventing a Simulated Attack
Step 6: Detecting and Preventing an HTTP Flood Attack
-
Create Detection Rules:
Editlocal.rulesto add rules for detecting an HTTP flood:alert tcp any any -> $HOME_NET 80 (msg:"HTTP Flood Detected"; flags:S; threshold:type threshold, track by_src, count 20, seconds 10; sid:1000002; rev:1;) -
Simulate the Attack:
Use a tool likehping3to simulate an HTTP flood:sudo hping3 -c 1000 -d 120 -S -w 64 -p 80 --flood --rand-source 192.168.1.10 -
Observe Detection:
Snort should alert on the console when detecting the flood. -
Prevent the Attack (IPS):
Modify the rule inlocal.rulesto drop packets:drop tcp any any -> $HOME_NET 80 (msg:"HTTP Flood Detected"; flags:S; threshold:type threshold, track by_src, count 20, seconds 10; sid:1000002; rev:2;) -
Reload Snort and observe that the traffic is now being dropped, effectively mitigating the attack.
After following these steps, you have successfully set up Snort for both IDS and IPS functionalities on Kali Linux and used it to detect and prevent a simulated HTTP flood attack. This tutorial has helped to develop your foundational skills for further exploration and customization of Snort to meet specific cybersecurity needs.
References
By using these references, you can deepen your understanding of Snort’s learnings and expand its capabilities in your cybersecurity practices.
